
How to Design and Renovate a Retail Store: A Step-by-Step Guide
Signing the lease on your retail space is exciting, but getting the keys is really just the beginning. Before you can open the doors, there are layouts to plan, budgets to build, contractors to coordinate, fixtures to source and plenty of decisions you probably didn't realize you'd have to make.
The easiest way to approach a retail store renovation is to break it into stages. Rather than jumping straight into choosing paint colours and display tables, start with the bigger picture and work your way down to the details.
1. Define Your Store Concept
Before you start renovating or shopping for fixtures, think about what you want the finished store to feel like.
How would you want a customer to describe your store to a friend? Warm and inviting? Colourful and playful? Minimal and sophisticated? Your answer should connect back to your brand and the customer you're trying to attract.
Create an inspiration board using Pinterest or saved images of stores, materials, lighting and details you're drawn to. Then look a little deeper. Instead of simply deciding that you like an image, ask yourself why. Is it the colour palette? The lighting? The open layout? The way the products are displayed?
Those answers will start to reveal the design direction for your own space.
2. Plan What Your Store Needs to Do
A beautiful store that doesn't function well will become frustrating very quickly.
Start by listing everything that needs to happen within your space. You may need a checkout area, stockroom, fitting rooms, shelving, display tables, consultation areas or seating.
Then think about your customer.
How will they move through the store? What should they encounter first? Where do you want them to slow down and browse?
Plotting these areas on a floor plan will help you understand how everything fits together before you spend money on fixtures.
Need some help getting started? Our Floor Plan Guide walks you through the basics of planning your retail store layout so you can start making sense of your space before committing to fixtures and displays.
And resist the temptation to buy that beautiful display table just yet. Your layout should tell you what fixtures you need, not the other way around.
3. Assess the Existing Store
Now compare your vision with the space you've actually leased. Walk through the store and make two lists: what can stay and what needs to change.
Look at the flooring, walls, ceilings, lighting, electrical outlets, plumbing, doors and existing millwork. Some elements may simply need a fresh coat of paint, while others could require replacement or construction work.
Common renovation projects include new flooring, painting, moving or adding walls, updating lighting and electrical work, and refinishing existing architectural elements.
This is also the point to investigate permits, building codes, accessibility requirements and other local regulations that could affect your renovation. Depending on the work involved and your municipality, drawings, permits and inspections may be required before or during construction. Find this out early, discovering it halfway through a renovation can affect both your schedule and budget.
4. Build a Realistic Store Renovation Budget
Retail renovation costs can vary enormously depending on the size and condition of your space, location, scope of construction and materials you select.
Break your budget into categories rather than working with one large number. Consider construction, professional fees, permits, electrical and plumbing work, materials and finishes, fixtures, furniture, signage and décor.
And leave room for surprises. A contingency of around 10–15% can give you some breathing room when something unexpected appears during construction.
Our Store Budget Planner can help you organize these costs before and during your project, while our Quote Comparison Tool can help when contractor and supplier proposals start arriving.
There are places to save, too. Facebook Marketplace, antique markets, secondhand shops and local suppliers can be great sources for furniture and decorative pieces.
I'd be more careful with secondhand retail fixtures. A fixture designed specifically for another retailer's products, layout and brand may look completely out of place once it lands in your store.
5. Assemble Your Renovation Team
Depending on your project, your team could include a retail designer, general contractor, architect or engineer, electrician, plumber, millworker, sign supplier and other specialty trades.
Start looking for your team early!
Ask for referrals, review previous work, check credentials where applicable and speak with more than one contractor before making a decision. Don't compare quotes on price alone. Make sure you're comparing the actual scope of work included.
A detailed contract should establish responsibilities, pricing, timing and what is and isn't included.
You should also start making decisions about materials before construction begins. Some products have longer lead times than you might expect, and waiting for one finish or fixture can hold up other work and possibly your opening date.
6. Choose Your Retail Fixtures and Furniture
Now you can finally shop!
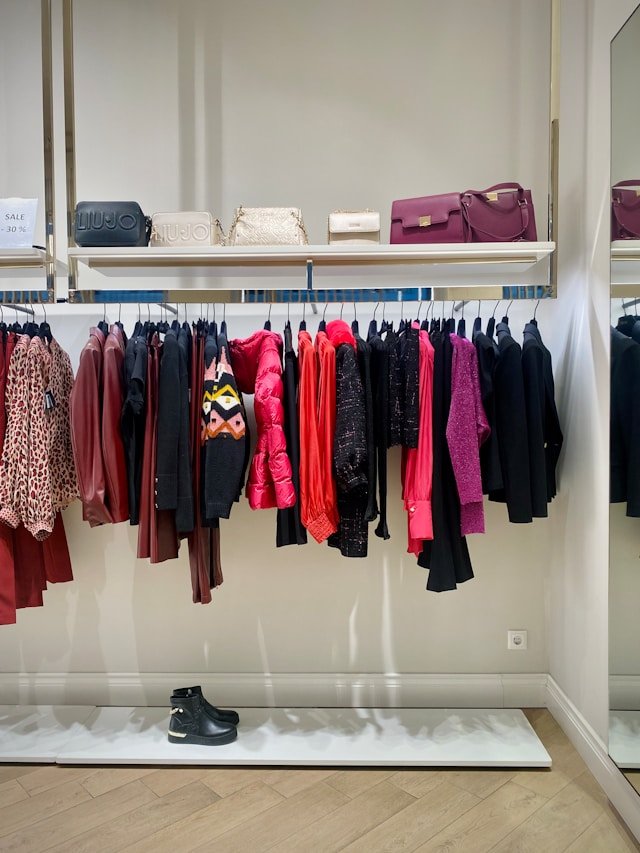
Go back to your floor plan and identify what each fixture actually needs to accomplish. Are you displaying folded clothing? Hanging merchandise? Small accessories? Heavy products? Do you need storage underneath?
Your product should help determine the fixture.
You may need shelving, display cabinets, tables, bookcases, racks, checkout furniture or seating near fitting rooms and consultation areas.
Think about flexibility as well. Modular and movable fixtures make it much easier to change your layout as inventory, seasons and promotions change.
This is also where you can decide where custom fixtures are worth the investment and where ready-made pieces will do the job perfectly well.
If you're struggling to find pieces that work together, our Curated Fixture Kits are a good starting point for creating a more cohesive retail space.
7. Layer in Lighting, Finishes and Personality
Lighting shouldn't be an afterthought.
Use a combination of general and directional lighting so the entire store is comfortably lit while key products and displays receive additional attention. Fitting rooms also deserve flattering, comfortable light, as your customer is looking at both the merchandise and themselves.
Then bring in the smaller details that make the space feel like your brand.
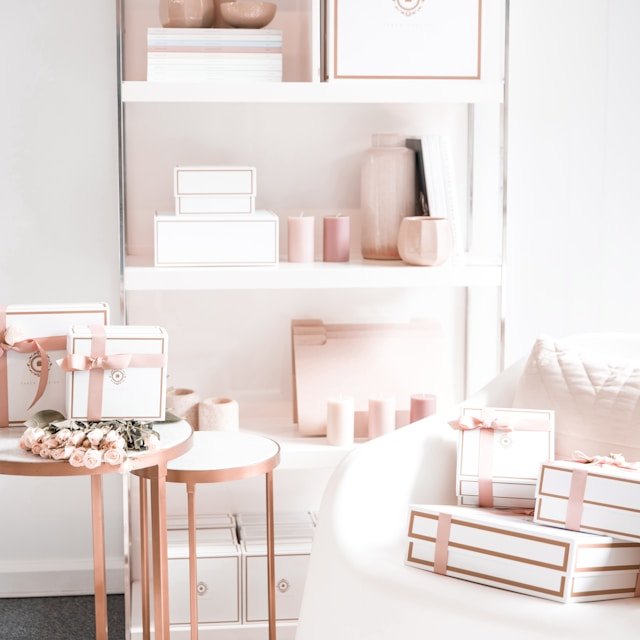
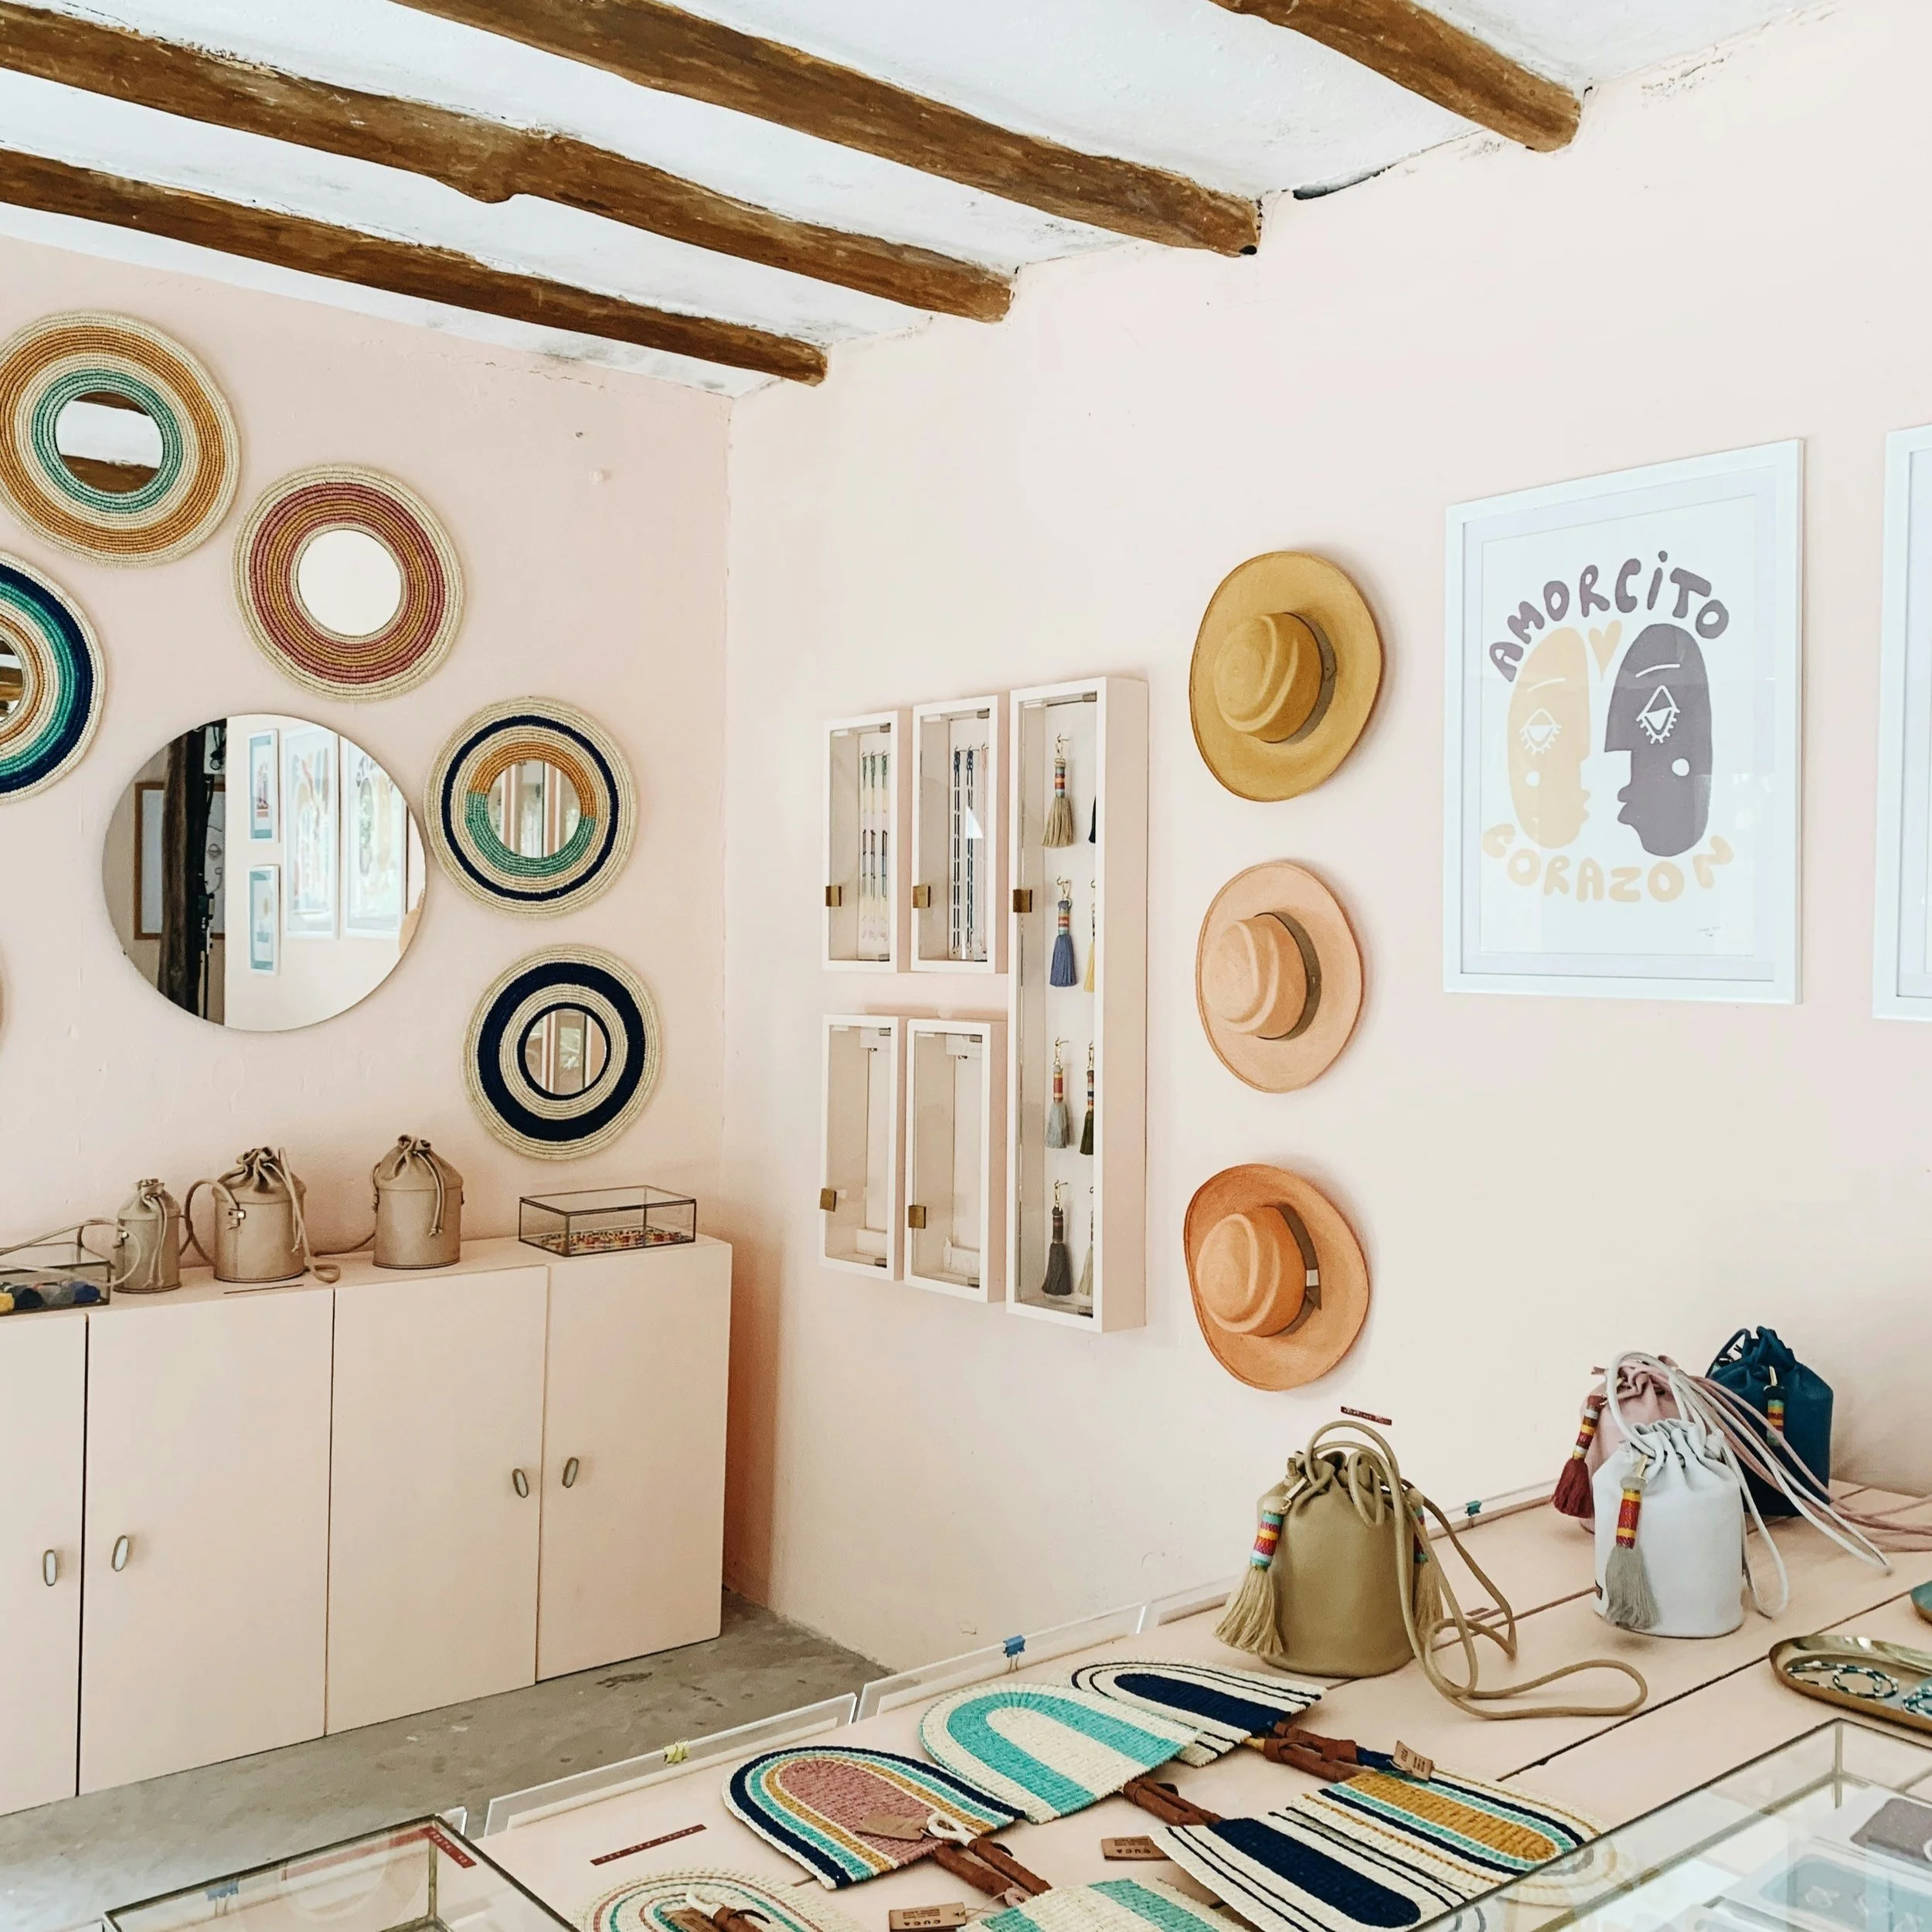
Mirrors, artwork, plants, books, lamps, vintage objects and other decorative pieces can add character and give customers something interesting to discover.
You may even have something at home that belongs in the store.
Just don't decorate every available surface. Your décor is there to support the merchandise, not compete with it. If customers notice the collection of decorative objects before they notice what you're actually selling, you've probably gone a little too far.
8. Prepare Your Store for Opening
Once construction is complete, walk through the store as though you're seeing it for the first time.
Test the lighting. Look for unfinished areas or deficiencies. Install your signage. Clean the space thoroughly and make sure customers can comfortably move through the aisles and access the areas they need.
Then start thinking about the experience from the front door all the way through checkout.
Our Store Launch Checklist can help you keep track of the many small details that need to come together before opening day.
9. Visually Merchandise Your Store
Your walls are painted. Your fixtures are installed. The lighting is on.
Now you need to make the store shoppable.
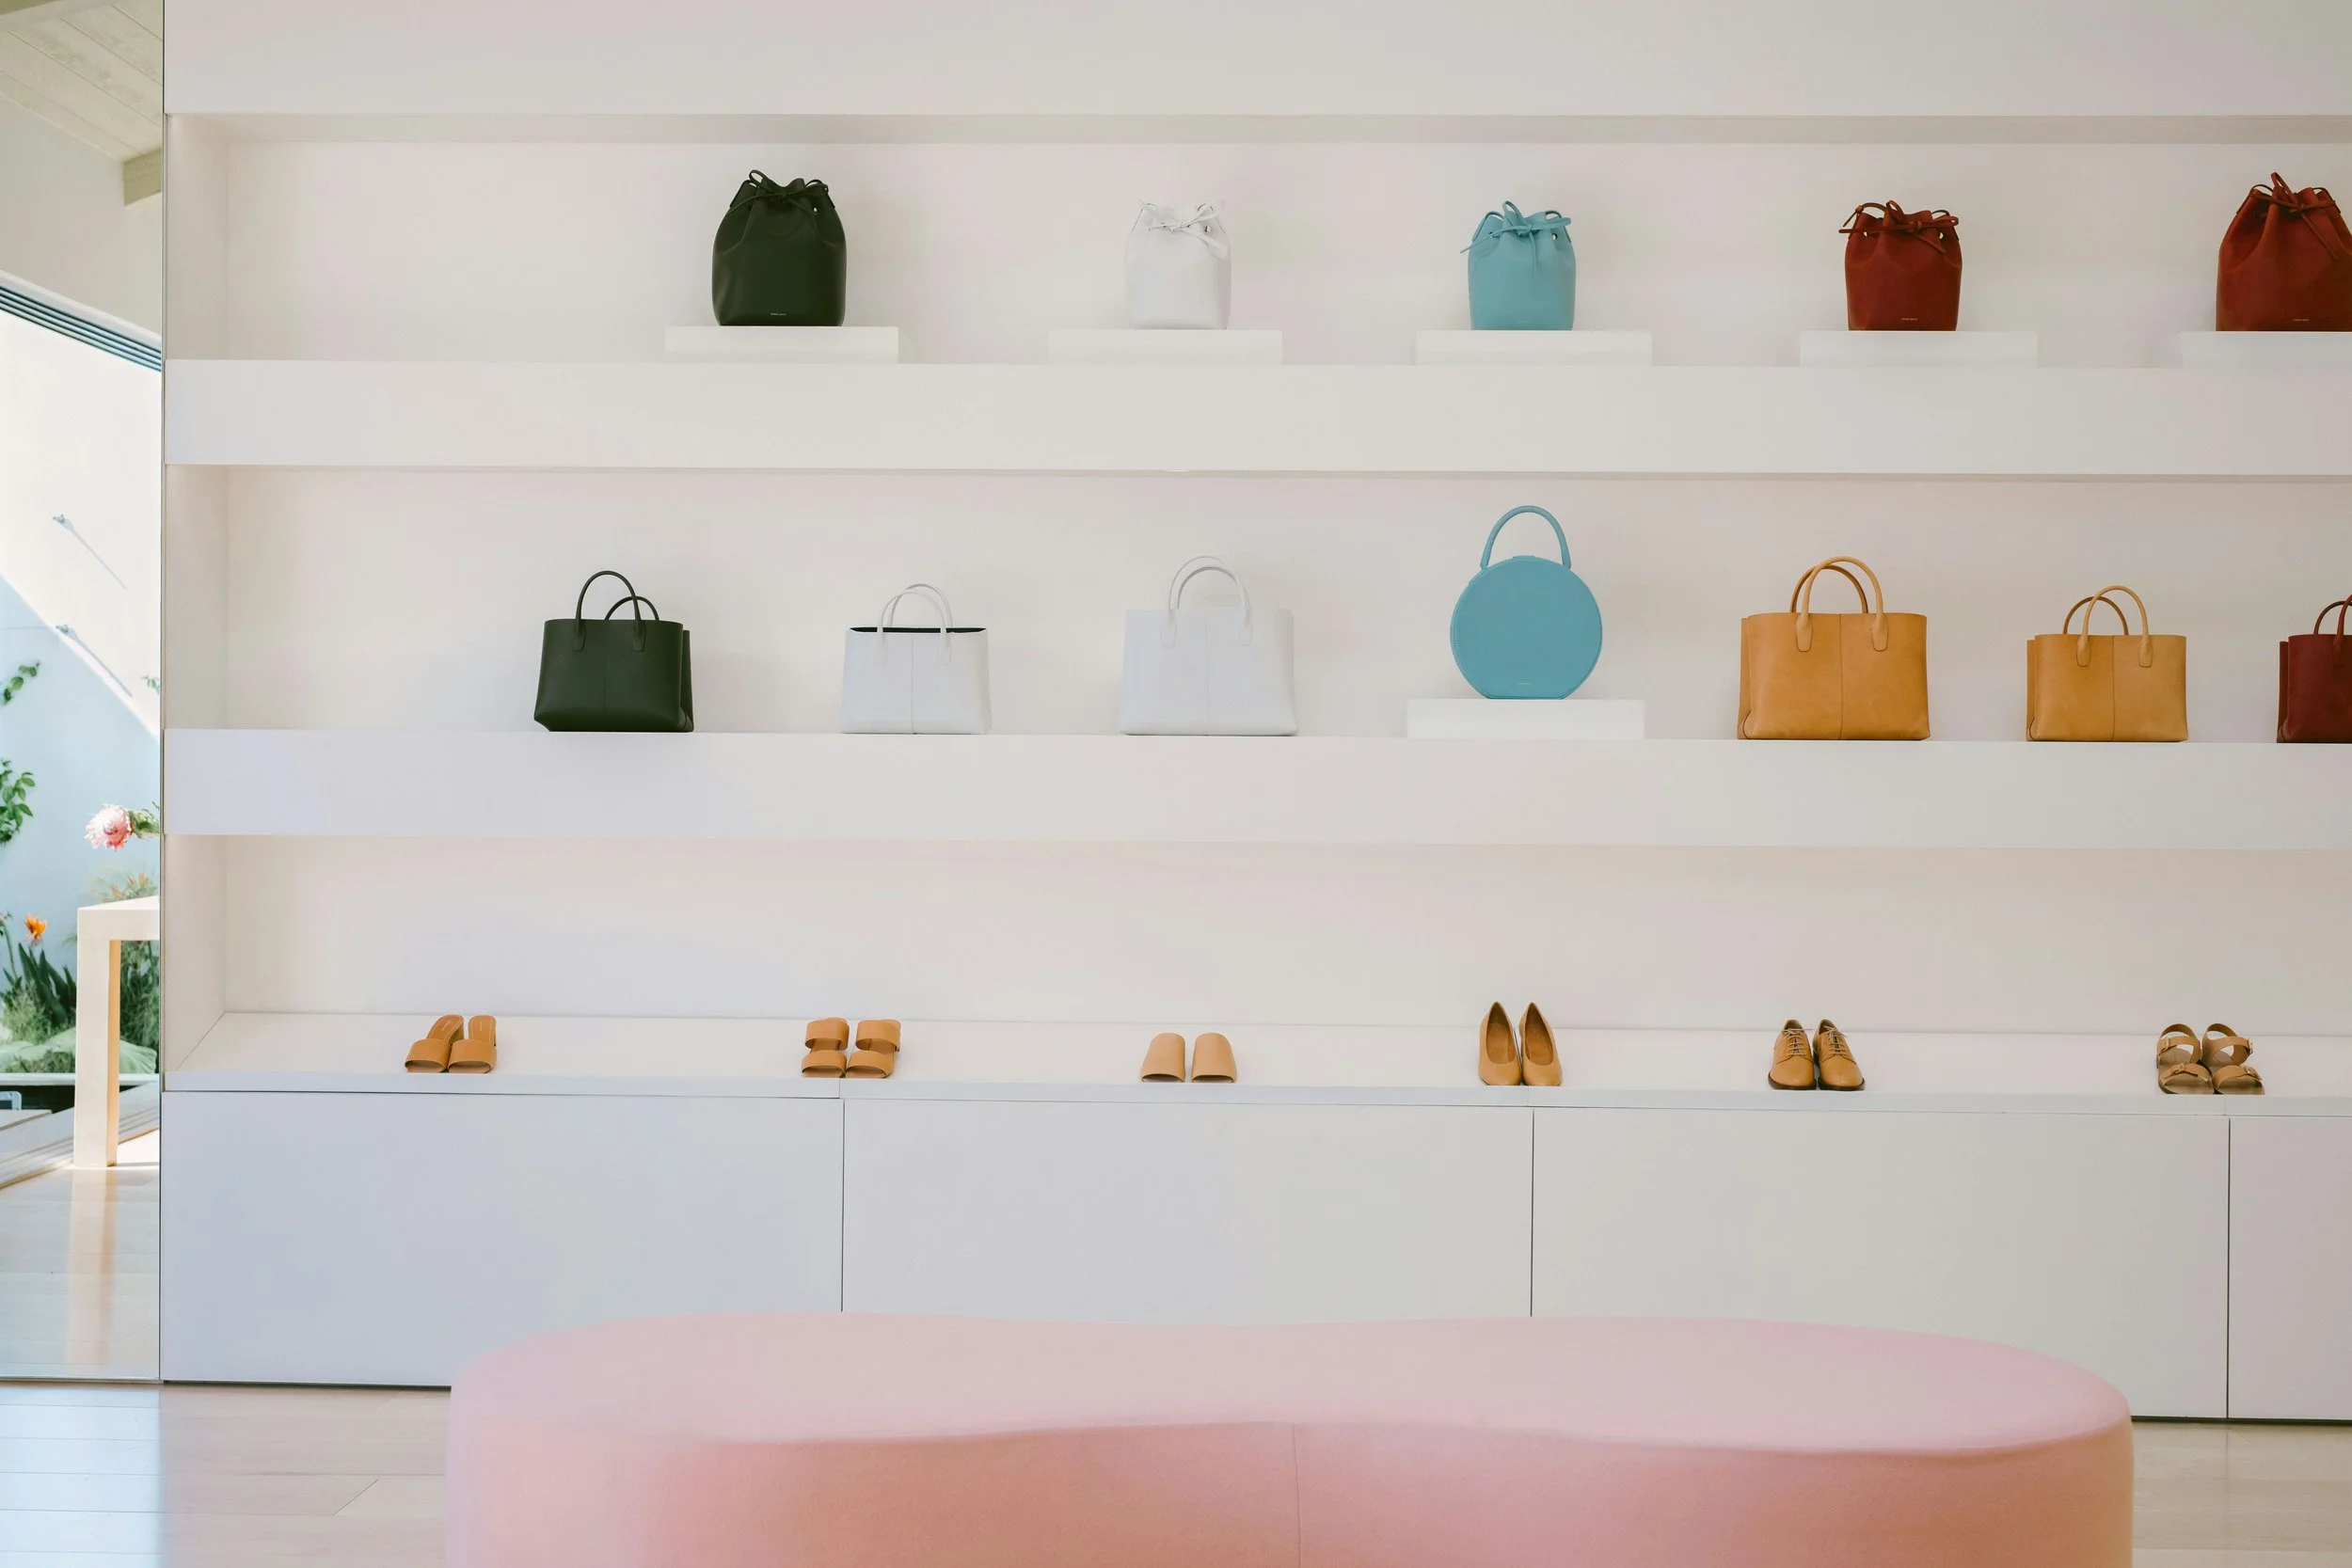
Visual merchandising is more than putting products onto shelves. Think about what customers see when they first enter, where their eyes naturally travel and which products deserve extra attention.
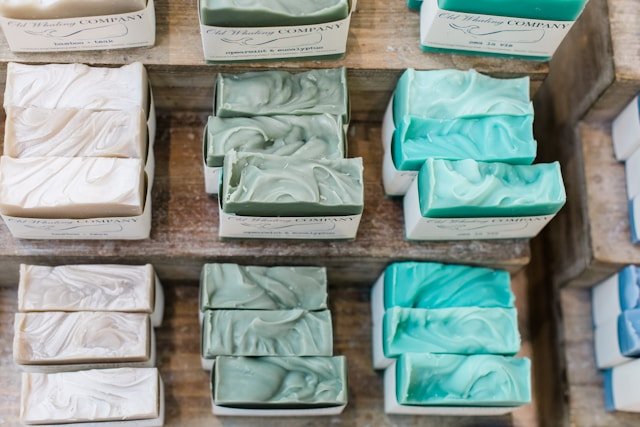
Create focal points throughout the store. Group products in ways that make sense together, vary display heights and give merchandise enough breathing room that customers can actually see what's available.
Cross-merchandising can also encourage discovery. Instead of displaying every product category completely on its own, think about what your customer might naturally use, wear or purchase together.
And don't try to put every piece of inventory onto the sales floor simply because you have it. Sometimes removing products from a crowded display actually makes what's left easier and more appealing to shop.
Your merchandising will continue to change long after opening day. New products arrive, seasons change and customers become accustomed to seeing the same displays. Plan to move things around and give customers something new to discover.
Our Display Layout Guide can help you plan and refine your displays, from product placement and spacing to creating stronger visual moments throughout your store.
Your Store Doesn't Have to Come Together All at Once
Designing and renovating a retail store involves hundreds of decisions, but they don't all need to be made on the same day.
Start with your concept. Understand what the space needs to do. Plan the layout and budget before committing to construction or fixtures. Then layer in the details that make the store feel like yours.
A well-designed store shouldn't just photograph beautifully on opening day. It should make your products easier to shop, support the way you operate your business and give customers a reason to want to stay awhile.